Saturday, December 24, 2005

Two out of ten done.

I decided to cheat a little.

I intend to give 5 frames each to two friends. But I didn't think I could finish them all in time. Yesterday I spent all day on the construction aspects. All the pennies are drilled and frames fitted together. Every frame is sanded to 220 grit and they look and feel great.

But there isn't time to stain and finish all 10 frame sets, so I focused on 2 of them. I have stained and finished these and they will be ready for final assembly and wrapping tonight. Then, tomorrow I can give a gift to 1 frame to each of my friends with the promise of 4 more to follow soon.

The first finished frame.


Back of the second finished frame.


Splined corners for strength.


Eight more to finish.

Friday, December 23, 2005

Dunno if I can finish in time

I am way behind on the picture frames. When I started them I had hoped to have them all wrapped up by now. No such luck. It has been so cold that my shop time is minimal.

I have drilled, countersunk, and installed 90 of the 100 pennies that hold the inner frame into the outer. I hope to finish the other 10 today, plus sanding. That leaves staining and finishing. I don't think that can all be done on Saturday. I may be able to finish them on Christmas day. After that I will be going out of town for a few days.

Monday, December 19, 2005

Picture frame progress

The inner frames have all been fitted into the outer. The outer frames have been splined. I am currently drilling shallow holes (using a Forstner bit) into the backs of the frames. These holes will allow me to recess pennies into them (I am also drilling holes in 100 pennies...10 pennies per frame). The pennies will be screwed to the cherry outer frame and pressure will hold the sycamore inner frame in place. I have mocked up one frame and this method works great. It will allow the frames to expand and contract without breaking apart.

So, now I need to drill 9 more frames and 90 more pennies. Then do the sanding, staining and finishing. All in just a couple of days. Boy, I HAVE to start in the summer next year. This will come down to the wire, which I didn't want to happen.

Wine cork trivets are done.

I put the final touches on the wine cork trivets this morning. I made 5 in all, but only had plans to give 4. So the 5th one is mine, unless I have one of those unexpected last minute gift needs.

Here are the cherry splines after being sanded flush to the frames.


Using spare corks I cut 1/4 inch disks and glue them on the bottom as small feet.


All 5 finished and ready to wrap.

Monday, December 12, 2005

Progress

Because it was a visitation weekend I didn't get any shop time.

But I went home at lunchtime today and made some really great progress. And tonight should be just as good.

Trivets:
All of the corners have been splined. The excess has been cut off and the sides all run through the edge jointer and sanded. I set up a roundover bit in the router table and touched up all the tops. The plywood bottoms are cut to size and 3 of 5 have been installed. I ran out of screws, but picked some up on the way back to the office. Tonight all that will be left is to glue in the corks.

Picture frames:
I have scraped the excess glue from the corners of 5 out of 10 inner frames, then sanded the front face of those 5. No need to mess with the backs, since they will be against a wall, nor the outer edges, since they will be inside the outer frames. Tonight all of the inner frames should be ready for stain and finish. I am going to spline the corners of the outer frames, so there will be another couple of days until they are ready for stain and finish.

A good thing is that I have off from Wednesday through the end of the year.

Wednesday, December 07, 2005

Custom frames...more pictures.

The fantastic miter sled.


The 10 sycamore inner frames and 10 cherry outer frames, all glued up. They look small, but the inner frame is for an 11x14 picture.


One frame each, upside down. This picture shows how the inner frame is just a little larger than the space it will fit into. It will be trimmed for an exact fit.


One frame each, right side up and mocked up. The upper right corner shows that the inner frame is still a little too big.

Wine cork trivets

I got the idea for making wine cork trivets from seeing some made by my uncle Bernie.

Mine have mitered and glued corners and a recessed bottom for a piece of 1/4 inch plywood. Mitered corners are weak because it is glued end grain to end grain. So I soup it up a bit by adding a triangular spline to each corner.

To do the splines I first built a jig. This device runs down the fence of the tablesaw and holds a frame corner point down. I set the height of the blade so it doesn't cut all the way through (less to fuss over later) and then the fence so the slot is cut near the center of the frame corner. Then, 4 quick passes, turning each corner down and clamping to the jig for each pass.

Next I take a contrasting type of wood and plane it until it can slide in the spline slots, but snugly. I cut this into triangles using the bandsaw. Each triangle gets glue on both faces and the long edge. The triangle is pressed into the slot and then clamped into place. Pieces of scrap wood protect the face of the frame from the metal of the C clamps. Splining like this glues face grain of the triangle to the face grain (inside of the slot) of the corner. It is incredibly strong and will probably never come apart.

Looks good too.

These wine cork trivets are made of poplar with cherry splines.
Two of the five. They measure about 9 inches on each side.


All 5 after glue up. Corks are mocked up, but not ready to install yet.


Spline slots and cherry splines have been cut. One is glued up and the others are waiting.

Tuesday, December 06, 2005

Custom frame pictures

Here are pictures of the special frames:

Rough sycamore board on left. Planed and sized inner frame pieces on right. Sample with finished profile on top.


Sycamore shavings from planing the parts for the inner frames.


Cherry outer frame parts before planing. Needed 8 more.


All the sycamore after shaping.


Some cherry outer frame pieces after planing and shaping.


Mockup of outer and inner frame pieces, dry fitted at a mitered corner.


All the sycamore inner frames, sorted, dry fit, and one already glued and clamped.


All the cherry outer frames, dry fit, and one glued and clamped.

Custom picture frames

These picture frames are for two long time friends of mine. We have all been involved in Tae Kwon Do since January of 2000. Two of us have earned second degree black belt. The other earned first degree. They each have sons that earned first degree. For each degree earned one gets a nice certificate from Korea, but these come in a cheap frame. So, I am making 5 frames for each friend.

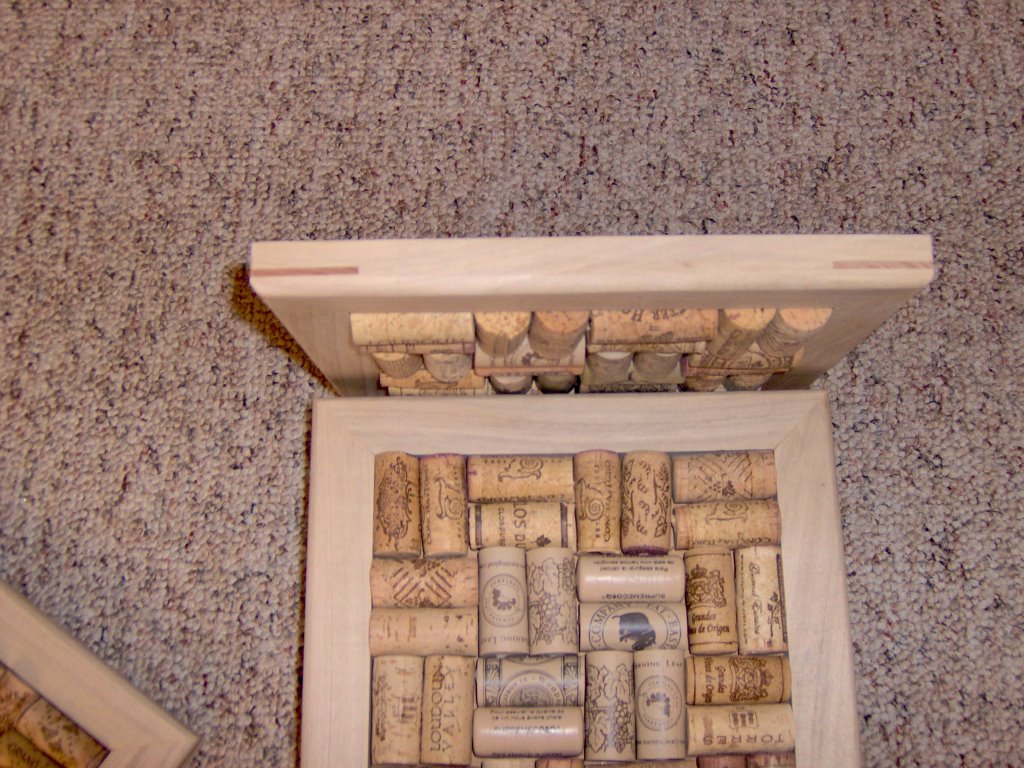
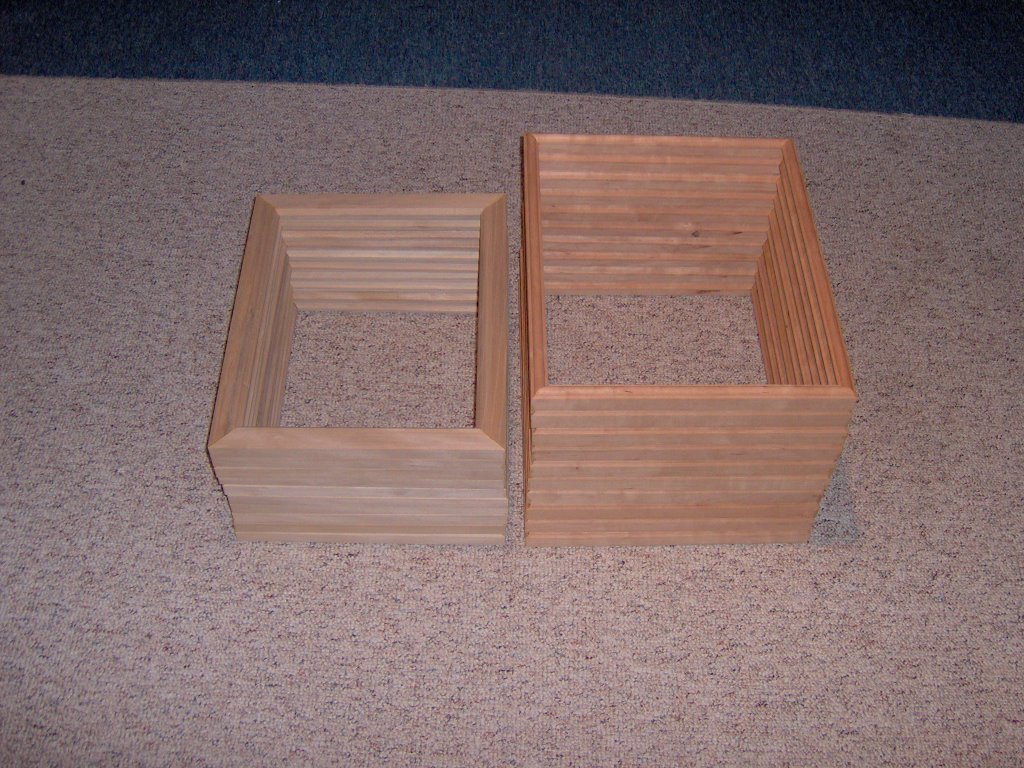
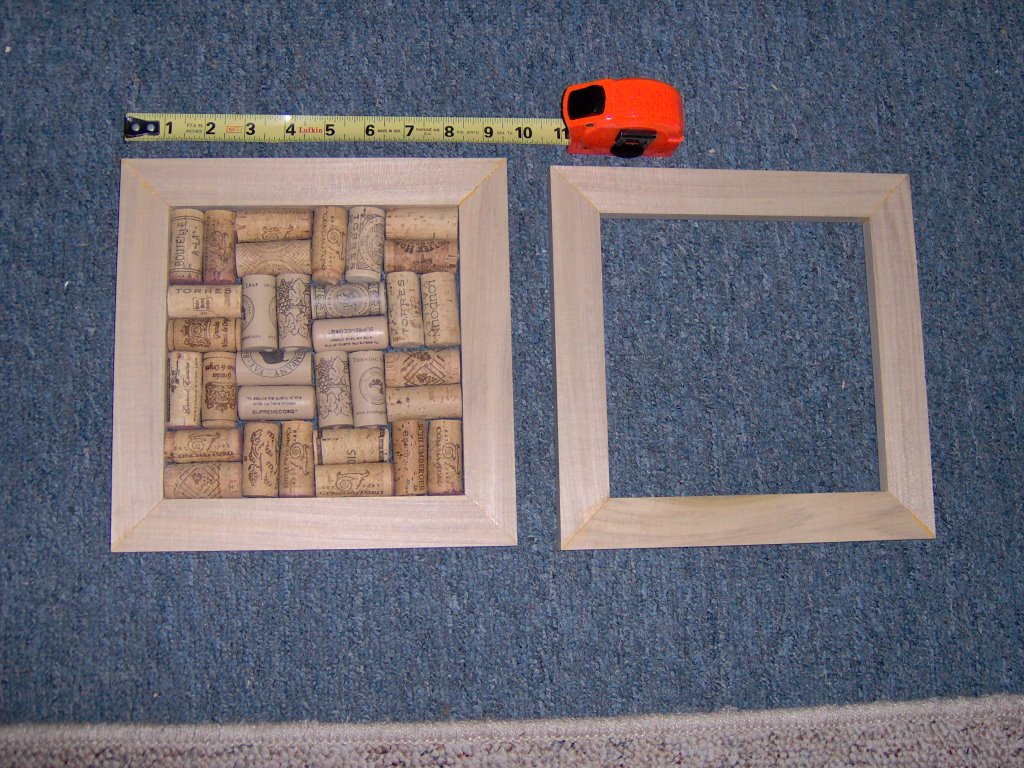
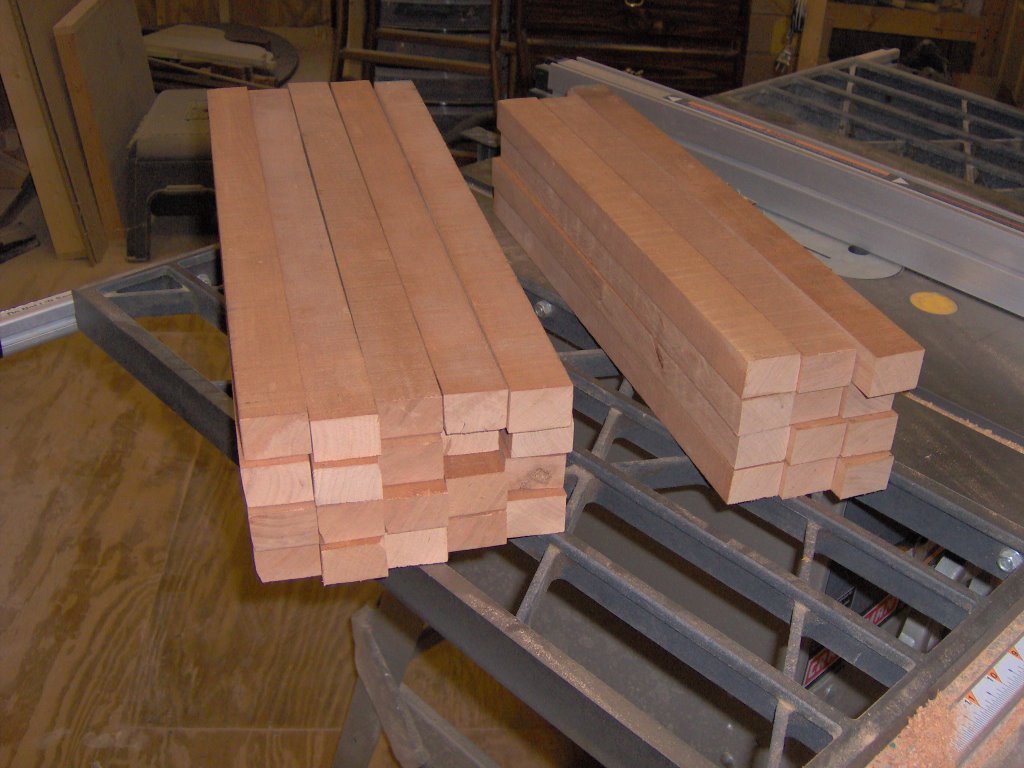
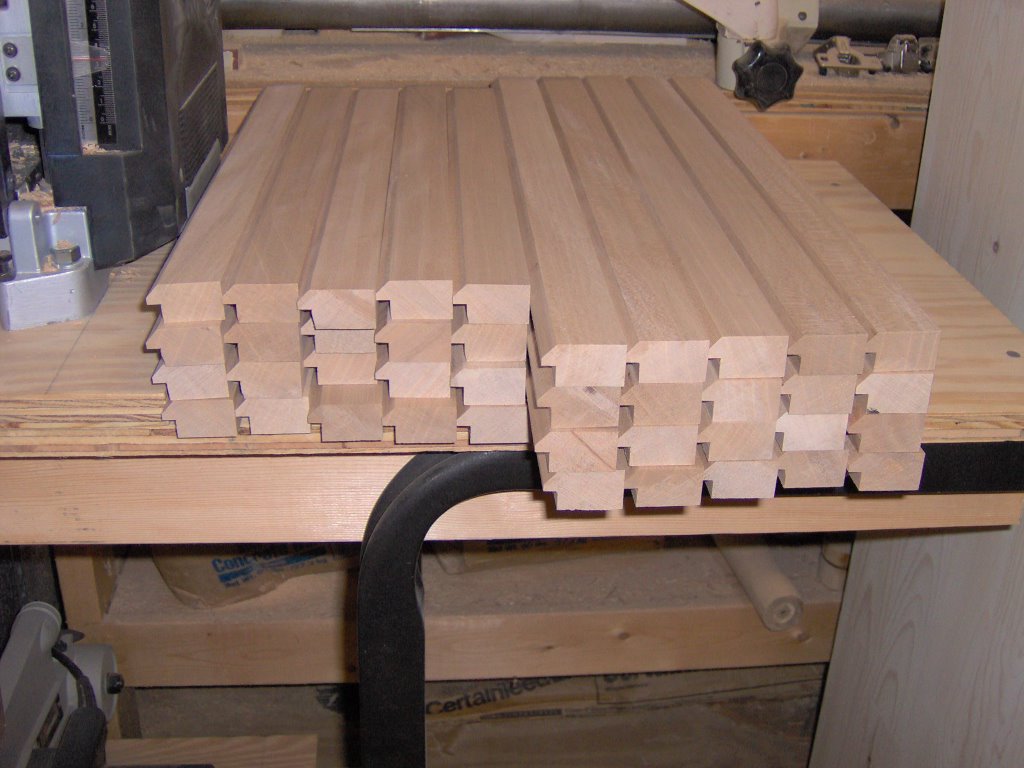
Each frame is really an outer frame of cherry and an inner frame of sycamore. The cherry comes from my yard. The sycamore comes from the yard of one of these friends. I cut these trees down myself and have performed all of the milling steps except cutting the tree into rough lumber.

The outer frame has a "shouldered bullnose" and the inner frame has a bevel. The bevel makes it look like a "matte." The frames look pretty because of the design and the contrasting wood colors.

To date all the pieces have been rough cut, milled to size, shaped, rabbeted, mitered to length, and assembled. That was TWENTY frames. Once a particular cut was set up, it wasn't a big deal to do that cut repeatedly, so more frames didn't mean a lot of extra time.

I built a mitering sled for the table saw. This is now an indispensible jig for my workshop. It has runners that fit in the channels of the table saw and a pre-set triangle which creates perfect 45 degree cuts while the tablesaw is set to cut at 90 degrees. One side has a sliding stop block set into a T-track. Using this device I cut all of the "left miters" on one side, one at a time. Then I set the stop block . To set the stop block I cut a piece a little long, test the length, then trim it a little at a time until perfect, moving the block for each test cut. Once it is perfect, the block is set. Finally, I cut all the right miters one at a time.

Pitcures soon.